Seams, undermount sinks and cooktop cutouts on install day
A seam does one job: it joins two pieces of stone so a long or bent run can fit through a door and still read as one surface. Each step of a countertop installation in Temecula, CA, from the first cut to the last bead of caulk, follows the order kept at countertop installation temecula say better things, with the sink and cooktop work done before the stone is final.
Where the seam goes
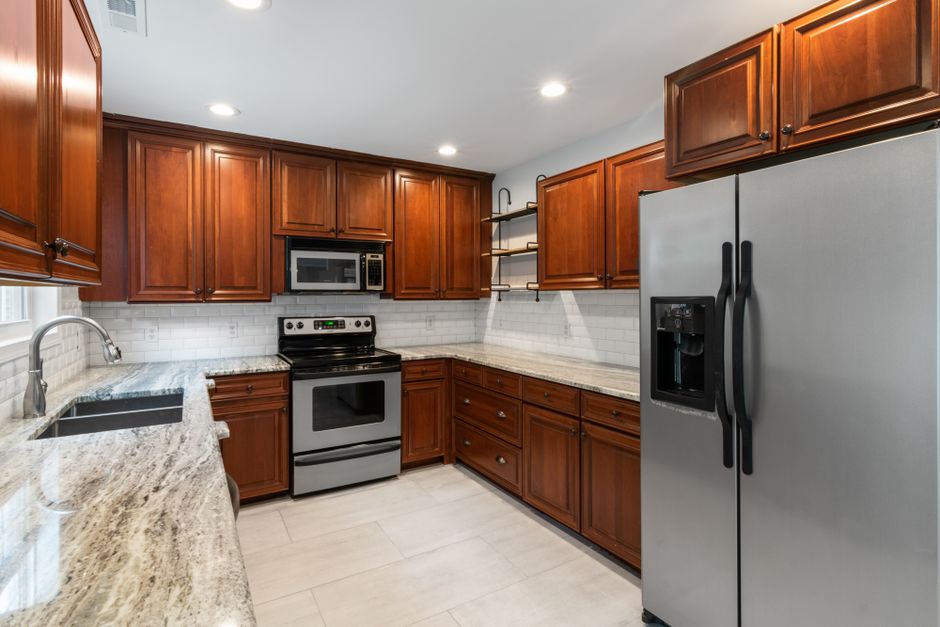
On an L-shaped run the seam usually lands near the inside corner, a few inches off the point so the join stays away from the sink and the cooktop. A seam through the sink cutout is a weak spot, since the stone is thinnest at the corners of that opening. The fabricator marks the position on the template and the installer checks it against the cabinet frames before the slab is set.
Epoxy and colour matching
Two edges are pulled together with a tinted epoxy matched to the stone, and a small suction device or clamp draws the pieces level. Granite and quartz hide a seam well when the pattern is plain. Marble and quartzite with strong veining show more, so the pieces are cut from the same slab in the same order they were laid out. The epoxy is scraped flush before it hardens, because a ridge is difficult to remove once cured.
Undermount sink mounting
An undermount sink hangs from the underside of the stone, so the sink goes on before the top is bonded down. Clips and a bead of silicone hold it to the underside of the slab, and the sink rail reveal, the strip of stone between the sink edge and the cabinet, is set to a small, even margin around the bowl. The sink cutout edge is polished by the fabricator, and a rough edge there collects water.
Cooktop cutouts and corner radius
A drop-in cooktop opening is cut from the appliance's own template. The corners are cut with a rounded radius, because a square inside corner in stone concentrates stress and cracks from a single point after a few heat cycles. The strips of stone left on either side of the opening are narrow, so they get a support rail or a plywood strip underneath them.
Setting the top
With the sink attached and the cutouts checked, the slab is lowered onto dabs of silicone and shimmed if needed. A level goes across it twice, along the wall side and the front. Solid surface and porcelain follow a similar order, and a laminate top is simply screwed down, which is why it is quicker, though less durable than stone.